Aloha Stampers!
Today I’m excited to show you some Do’s & Don’t’s of the Alcohol Ink Technique! After seeing some beautiful cards using this technique on Pinterest, I had to give it a try! Some things worked better than others. I’m hoping you’ll pick up some tips from me and give this fun technique a try!!
Alcohol Ink Technique
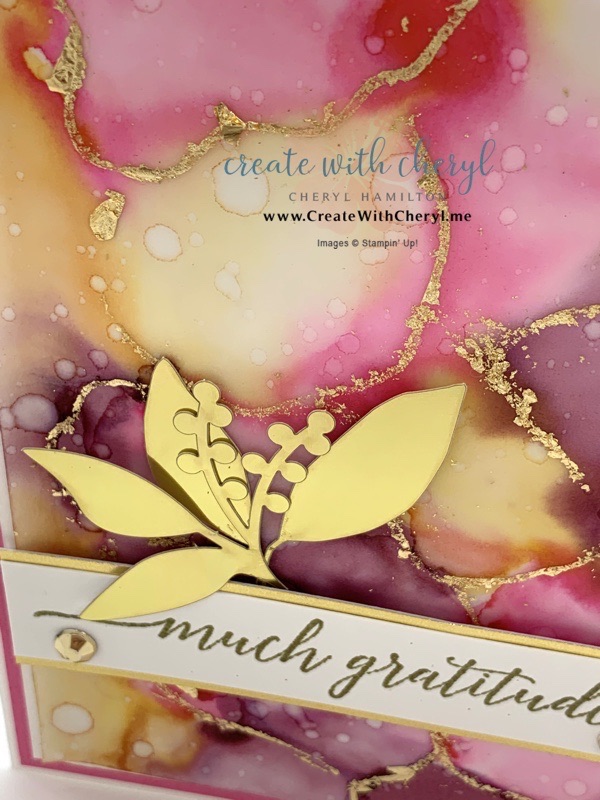
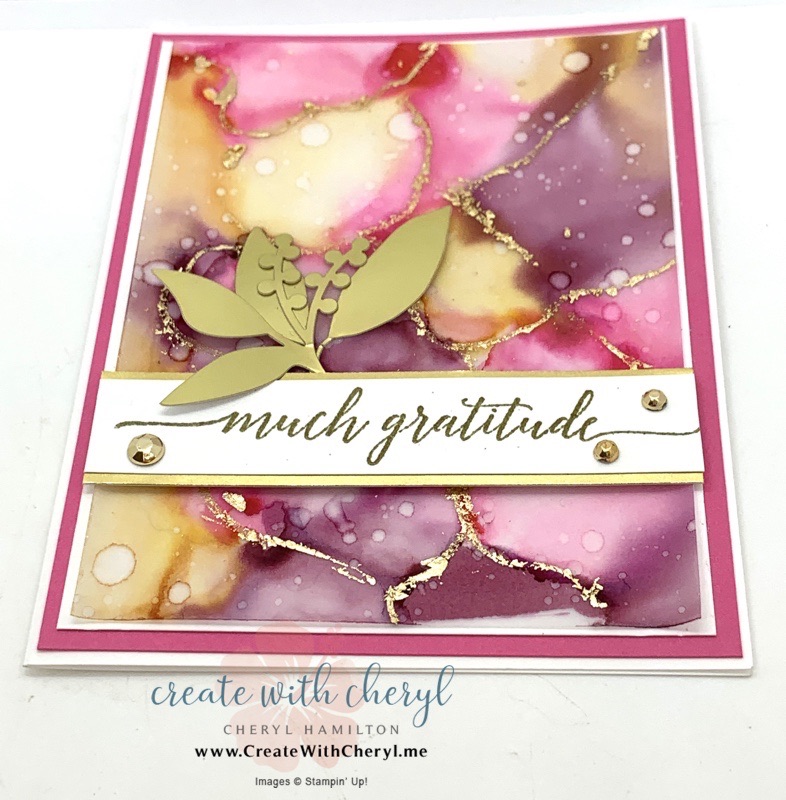
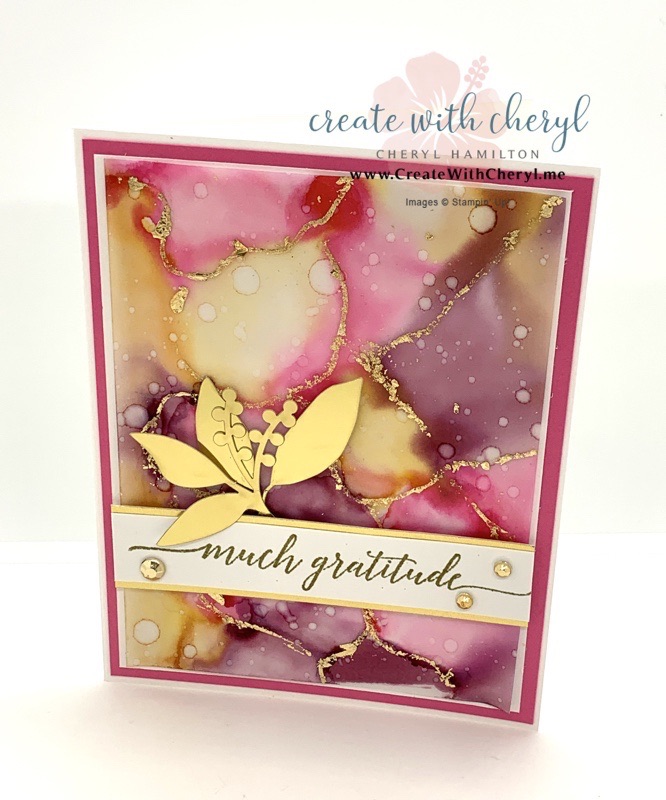 Isn’t it gorgeous?!! It’s much simpler than it looks!!
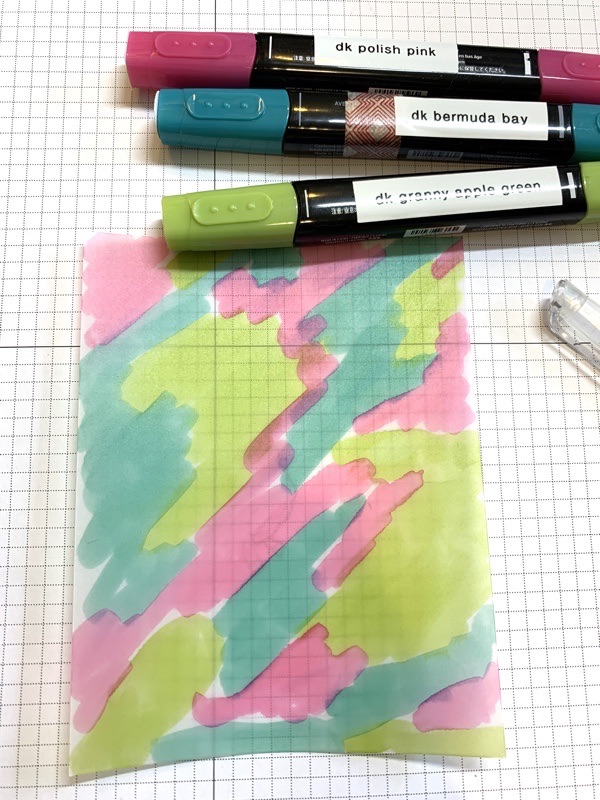
Start with a piece of vellum and color all over it with Stampin’ Blends.
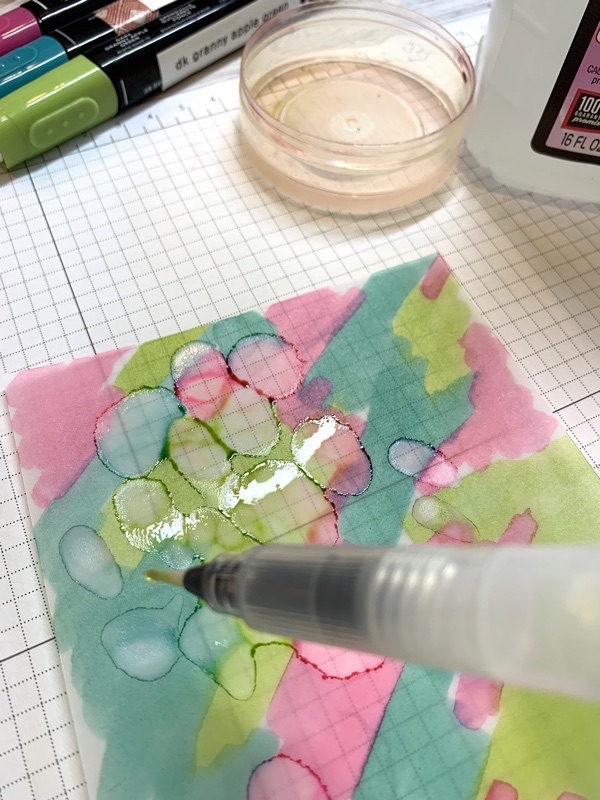
Randomly use your water painter to place drops of alcohol over the paper. I preferred using the wide brush for this. This is the part you’ll want to experiment with a bit until you get used to how wet to get your paper. 99% alcohol works best. It dries quickly and the vellum won’t curl up as much. Be sure and use Stampin’ Up! vellum! It’s a higher quality vellum than you’ll find in your local craft store.
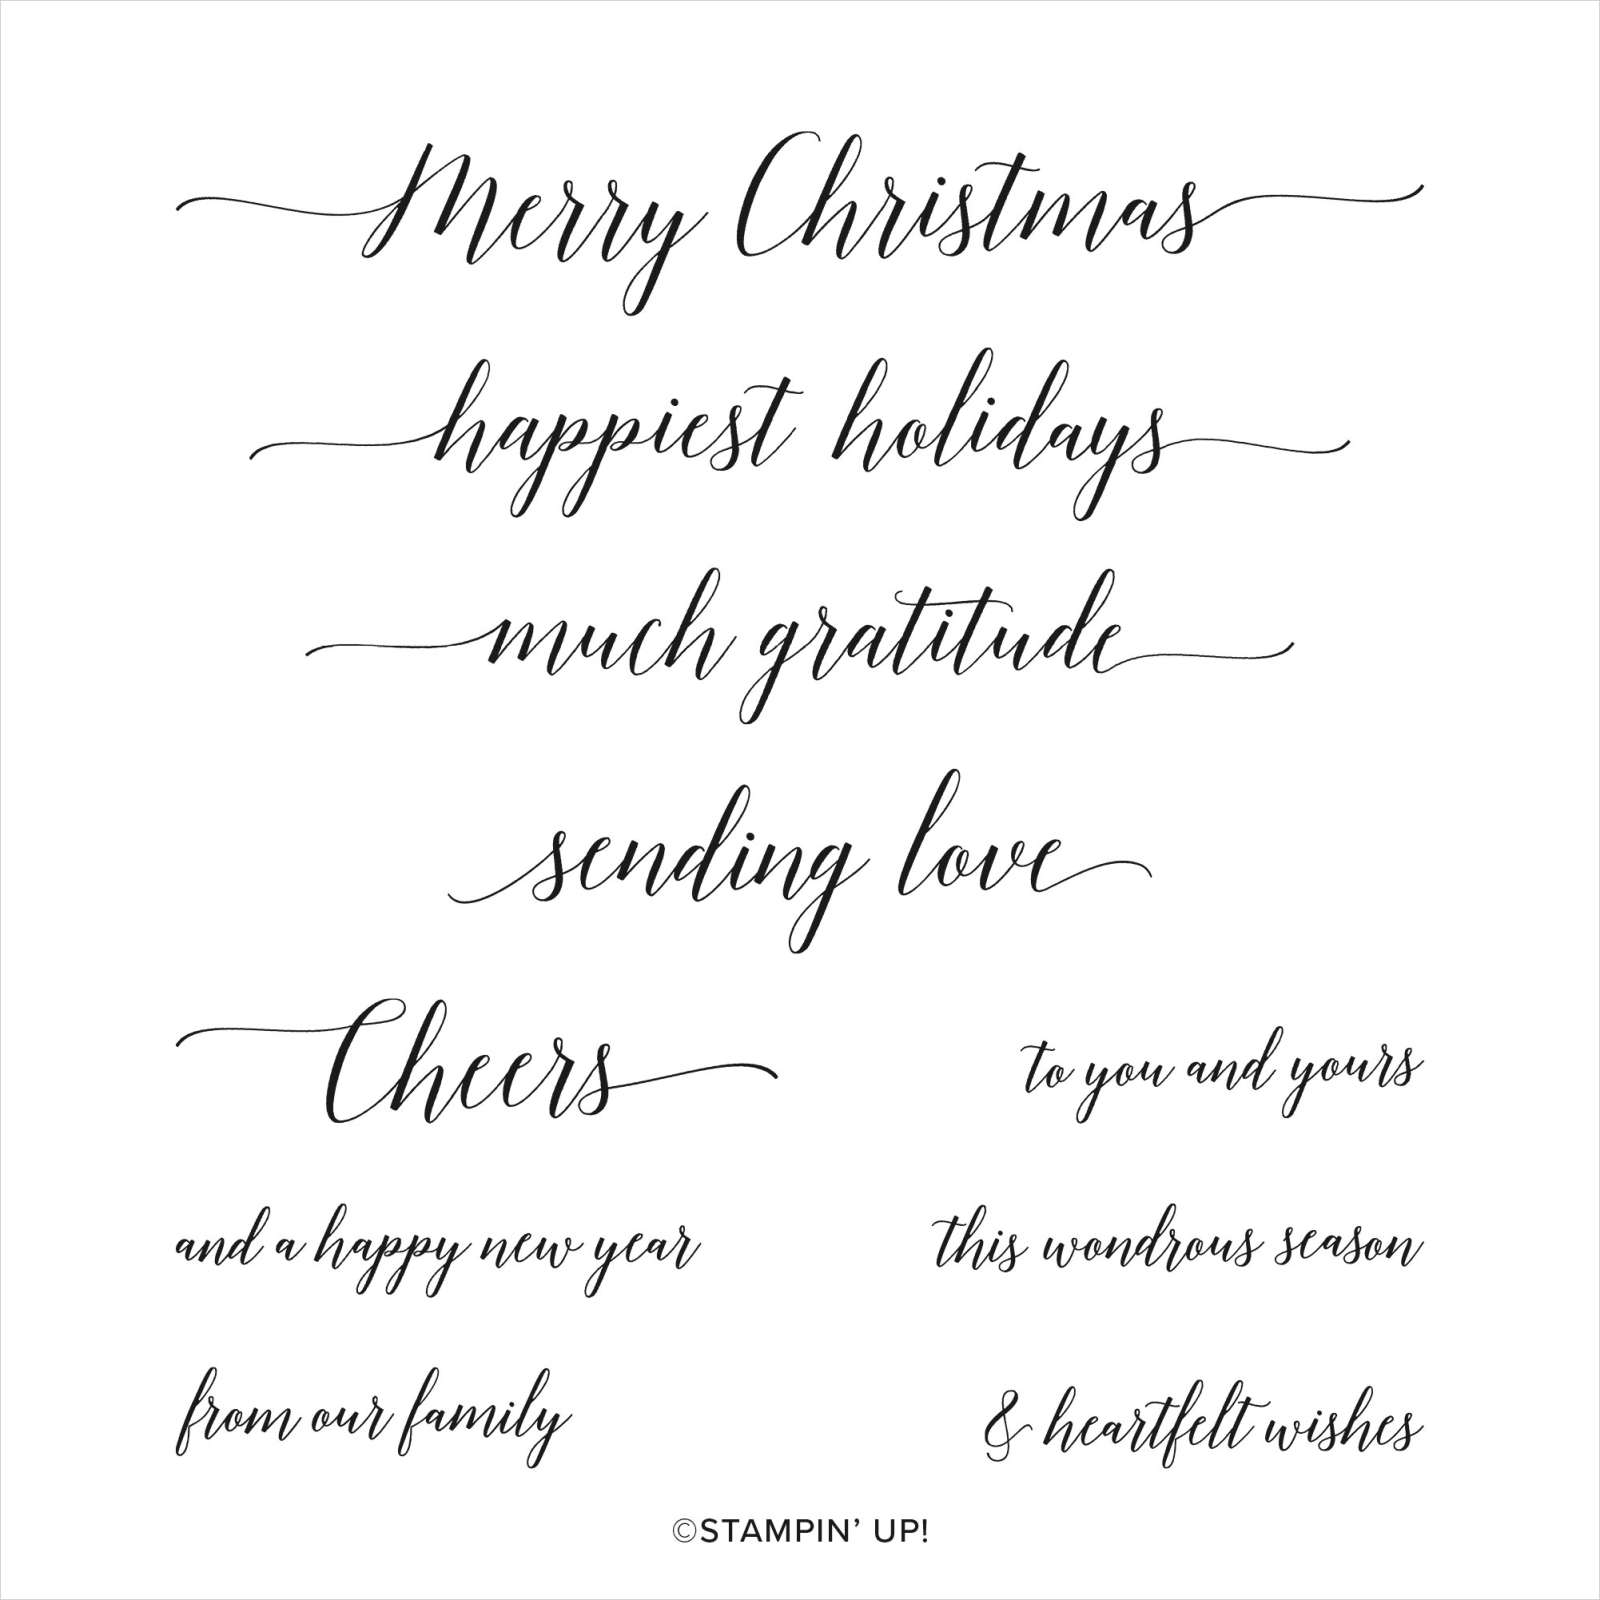
The stamp set I’ve used is called Heartfelt Wishes. It’s very elegant and is perfect for adding a sentiment to this elegant card! I’ve heat embossed it in gold and outlined it with Gold Foil.
There are several things I really love about this card:
- Alcohol Ink Technique! Simple to do and it makes gorgeous cards!
- Gold Leafing!!
- Each card is unique!
|
Project Details |
Alcohol Ink Technique |
|
Stamps |
Heartfelt Wishes |
|
Card stock & Papers |
Vellum 5″ x 3 3/4″ Basic White 5 1/8″ x 3 7/8″ & 3 7/8″ x 3/4″ Thick Basic White 8 1/2″ x 5 1/2″, score at 4 1/4″ Polished Pink 5 3/8″ x 4 1/8″ Gold Foil 3 7/8″ x 7/8″ |
|
Ink |
Versamark |
|
Accessories |
Stampin’ Blends- dark colors work best! |
|
Tip |
Adhere vellum piece onto Basic White background using Stampin’ Seal |
Be sure and watch my YouTube Video to help you make this card at home!
I really hope you give this technique a try!! Let me know how it goes!
Be sure to use this month's Hostess Code: AHJBASBS
ORDER FROM SUPPLY LIST:
Love this project? Here is your shopping list so you can re-create this idea on your own…just click on the images below to add them to your cart.
Shopping List

Leave a Reply