Aloha Stampers!
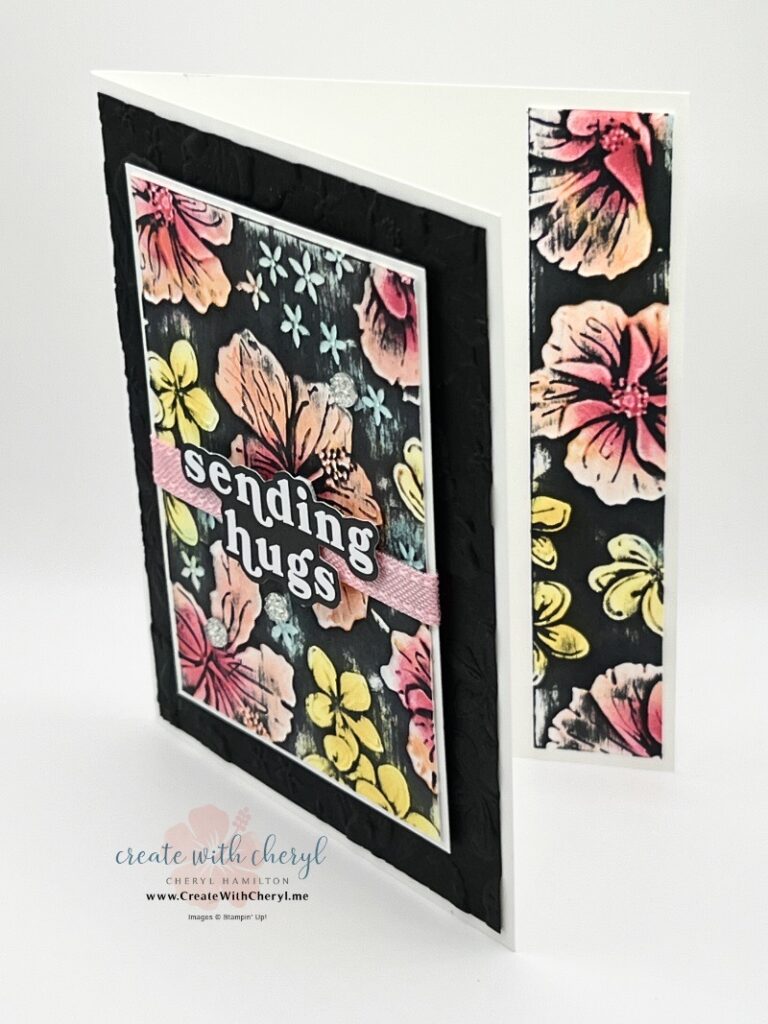
Today, I’m excited to share a fun technique with you! The Reverse Emboss Blackout Technique is a striking paper crafting technique that combines embossing using a 3D Embossing Folder with ink blending, and then dragging a dark ink pad over the top to create a dramatic, high-contrast look.
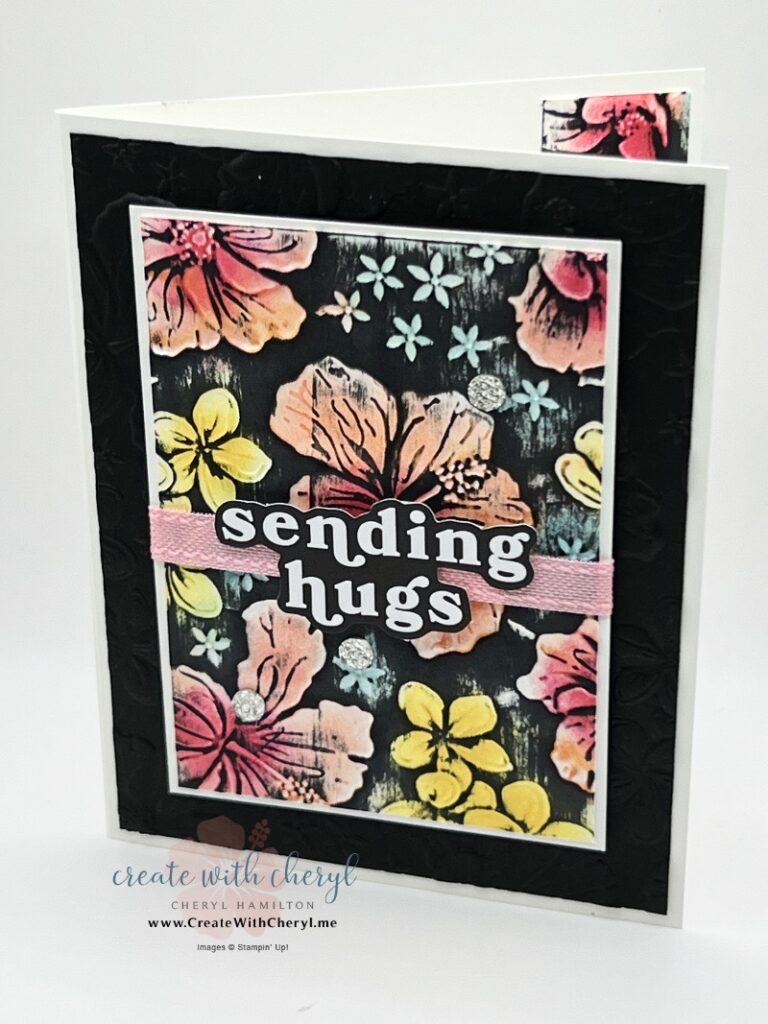
To do this technique, you need to start with a 3D Embossing Folder. I’m using the Happy Hibiscus 3D Hybrid Embossing Folder. Just emboss your Basic White cardstock and turn it over to add color to the debossed side. Sponge Daubers work best for this.

Now for the fun part! Gently slide a dark ink pad over the colored images. This will create a dramatic scene that really pops!
Watch the Video Tutorial!
I’ve put together a detailed video tutorial to walk you through the entire process. Click below to watch and learn how to do the Reverse Embossing Blackout Technique:
👉
👈
Love Cardmaking? Stay Inspired!
Don’t miss out on my latest tutorials, cardmaking tips, and project ideas! Subscribe to my YouTube channel to be the first to see my newest creations.
🔔 Subscribe here for more crafty inspiration!
Card Dimensions
-
Thick Basic White: 8 1/2 x 5 1/2, scored at 4 1/4, 2 x 5
-
Basic White: 4″ x 5 1/4″ (cut down to 3″ x 4 1/4″ after coloring) and 3 1/8″ x 4 3/8 for mat
-
Basic Black: 4″ x 5 1/4″
Thinking about getting the Happy Hibiscus Bundle? Here’s another example:

Want to create this project? Here is your shopping list so you can re-create this idea on your own…just click on the images below to add them to your cart.
Shopping List
Happy stamping!
lass=”p1″>Visit my online store here.
Follow me on Facebook, Instagram, Pinterest, YouTube
SHOP & SAVE: Clearance Rack – save up to 70%
The $99 Starter Kit is the best deal of ALL! Click for info


Cool technique, Cheryl! I’m gonna have to play with it! CASE time!!!
Thanks Connie! You’ll have to send me a picture when you’re done!