Aloha Stampers!
Welcome to Week 4 of my 12 Weeks of Christmas!
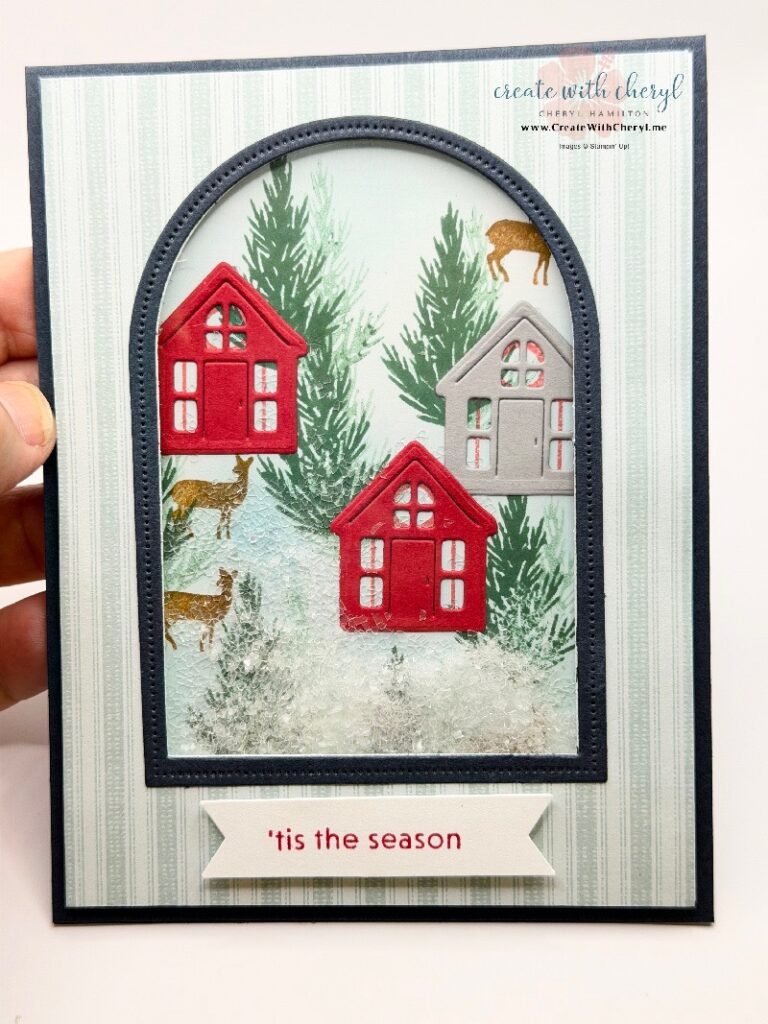
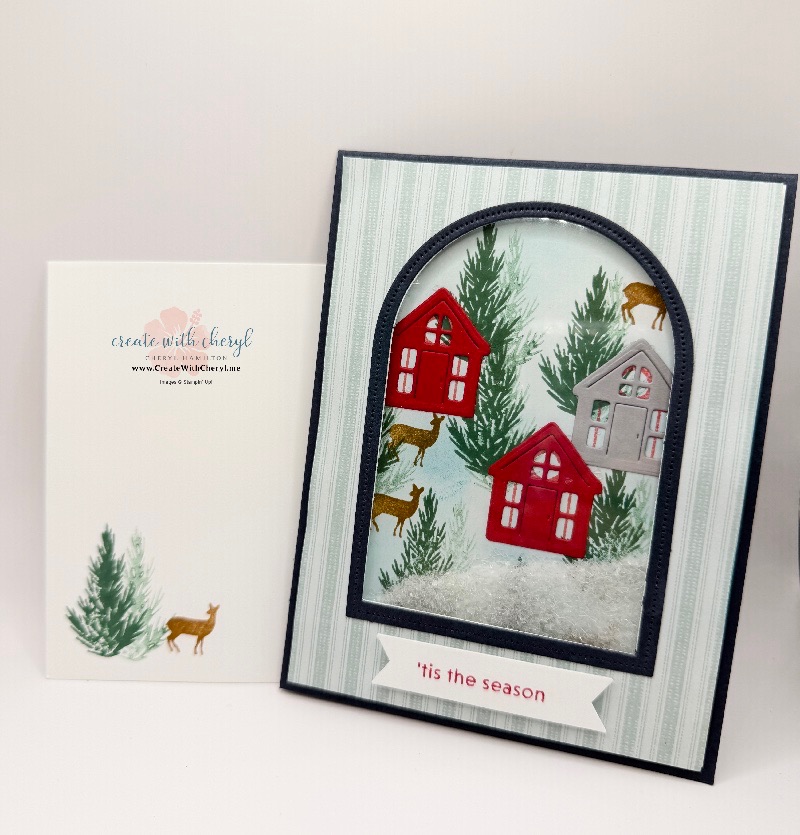
This week, we’re making something a little different—a Christmas shaker card! I used the Welcome Noel Bundle to make a little winter village, complete with Christmas trees, deer, colorful houses, and falling snow.
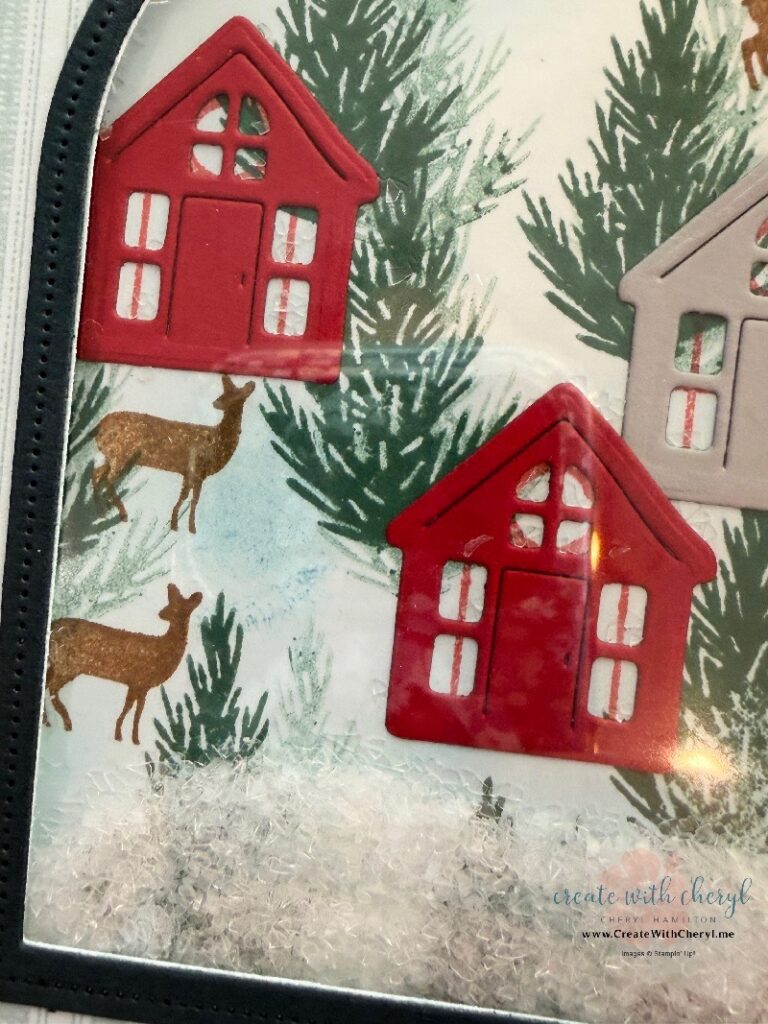
I love how the little houses peek through the window. And when you shake the card, it looks like a snowy day in a Christmas village!
A Snowy Little Christmas Village
I started with Secret Sea cardstock and used the Welcome Noel Bundle to stamp the pine trees and deer in the background.
Then I cut out the little houses using Real Red and Smoky Slate cardstock. I love how the red houses stand out against the snowy background!
For the shaker window, I used window sheets and foam adhesive strips, along with some fluffy artificial snow I had in my craft supplies. I don’t remember where I found the snow, but it was perfect for this project!
If you’ve never made a shaker card before, don’t worry. I’ll show you how to put everything together in my video.
A Few Special Details
The pretty striped background is from the Lovely Blossoms Designer Series Paper. It’s currently on the Last Chance list, so if you love this paper, be sure to get it before it’s gone!
For the greeting, I used the Soiree Salutations Stamp Set with the Three Banner Punch.
I think these two products are especially useful for beginning stampers. You can make all kinds of greeting banners without needing a Stampin’ Cut & Emboss Machine!
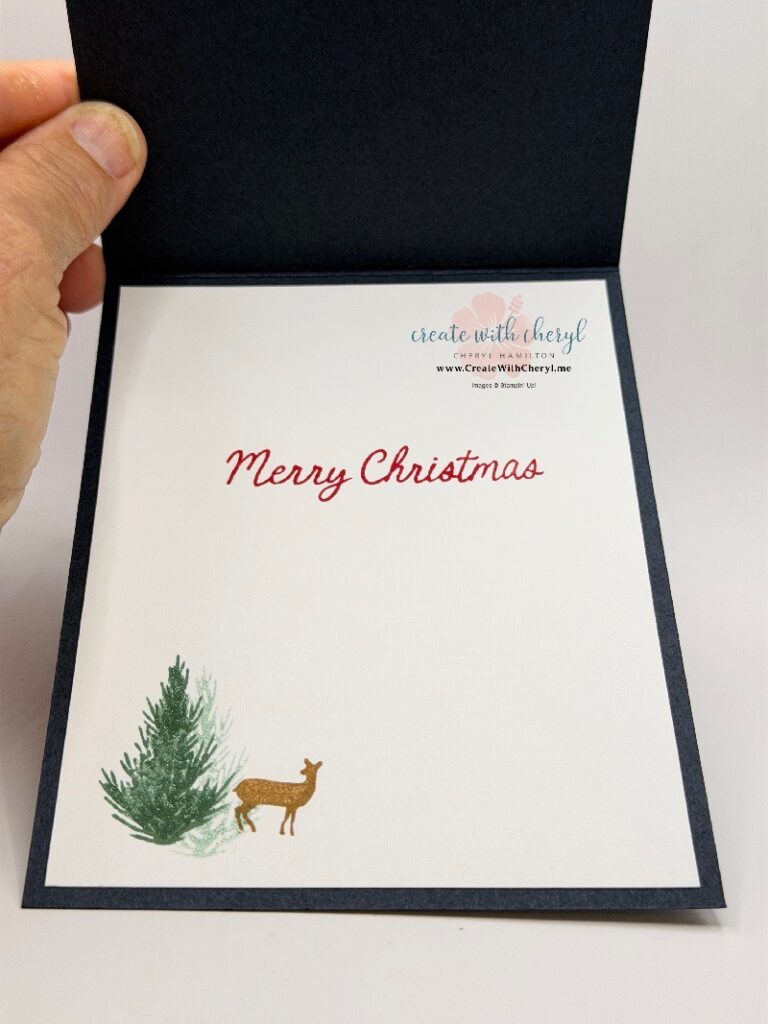
I also decorated the inside of my card and the envelope with a few stamped trees and deer. It’s such a simple way to make everything coordinate.
🌺 Crafty Tip: When making a shaker card, use foam adhesive strips to create a raised border around your window. This gives your shaker material room to move around when you shake the card!
Watch the Video
Want to see how I made this snowy little village?
In this week’s video, I’ll show you how to assemble the shaker window, add the fluffy snow, and put the card together.
FREE PDF Tutorial
I’ve also made a FREE PDF tutorial with all the measurements and step-by-step instructions.
You can download it and follow along with the video or save it for another day.
Download the FREE Welcome Noel Shaker Card PDF
Shop for Stampin’ Up! Supplies
You’ll find the supplies I used listed below, including the Welcome Noel Bundle, Soiree Salutations Stamp Set, and Three Banner Punch.
Remember, the Lovely Blossoms Designer Series Paper is a Last Chance item, available only while supplies last.
More Inspiration for You
Did you know this is the second time I’ve featured the Welcome Noel Bundle in my 12 Weeks of Christmas series?
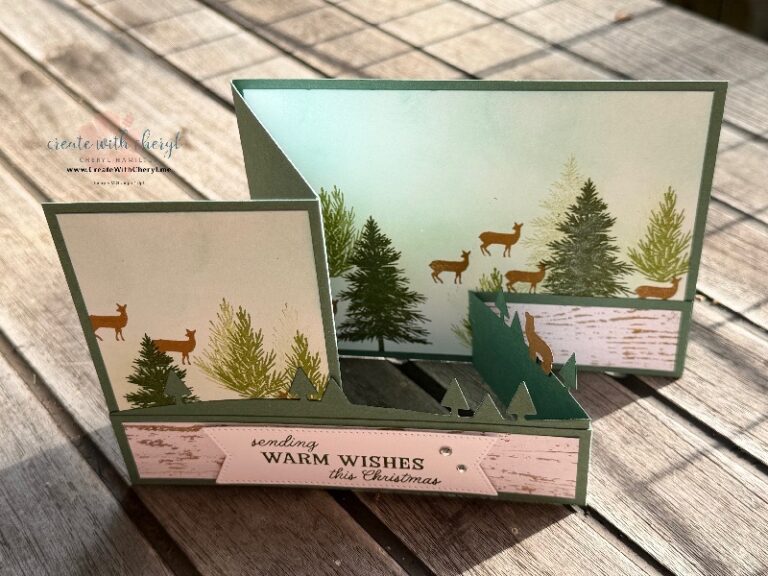
For Week 1, I made a completely different card—a fun Z-fold with a row of Christmas trees that pops up when you open it!
Click the photo below to see that project, along with another FREE video and PDF tutorial.
Have you ever made a shaker card? They’re such a fun surprise for the person who receives one!
Sharing Aloha one card at a time!
Cheryl


Leave a Reply